How to Clean a Litter Box: A Veterinarian's Step-by-Step Guide
Feline veterinarian Dr. Priya Anand, DVM explains how to clean a litter box the right way — the daily scoop, the weekly refresh, the monthly deep clean, what to disinfect with (and the two chemicals to never use), and the clinical red flags a dirty box can hide.
Updated
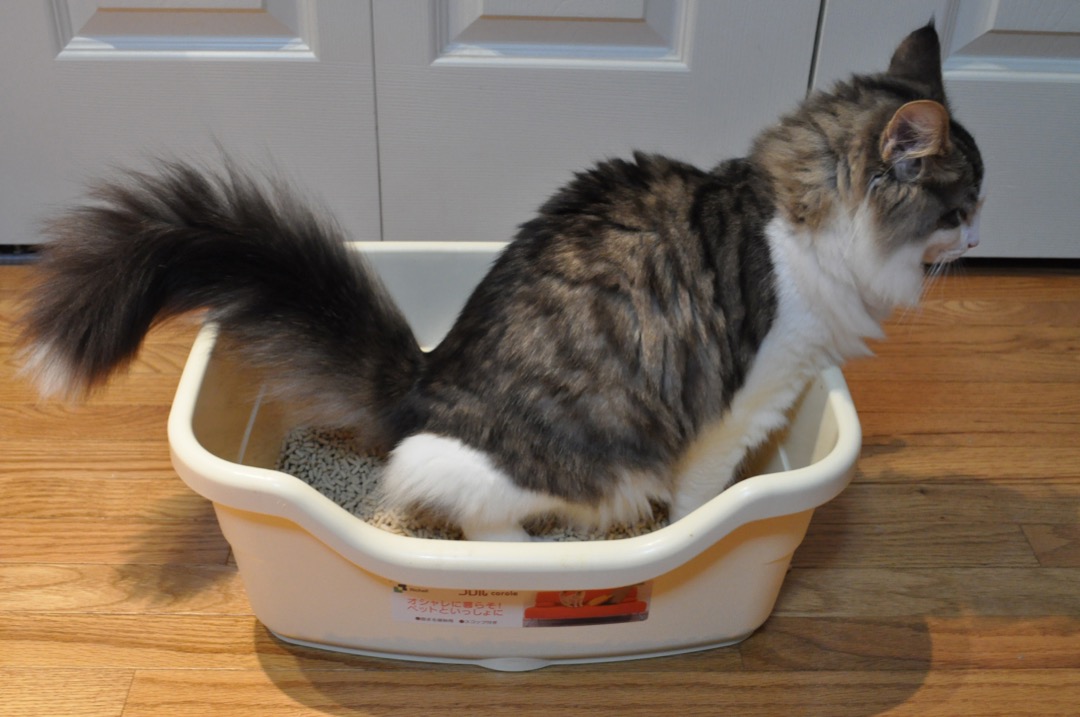
Ask any feline veterinarian what the single most under-appreciated piece of preventive care is, and a good number of us will give you the same unglamorous answer: a clean litter box. I have diagnosed urinary blockages, spotted early kidney disease, and headed off house-soiling standoffs that were destroying a family’s relationship with their cat — and in a startling share of those cases, the story started with a box that was not being cleaned often enough or thoroughly enough. Cats are fastidious animals with a sense of smell roughly forty times sharper than ours. A box that seems “fine” to you can read as filthy to your cat, and a cat who decides the box is unusable will find somewhere else to go.
The good news is that cleaning a litter box correctly is simple once you understand that it is really three jobs on three different clocks: a daily scoop, a periodic full litter change, and a monthly deep wash of the box itself. Do all three on schedule and you will control odor, protect your cat’s urinary and behavioral health, and give yourself a front-row seat to the earliest warning signs of illness. This guide walks through each level the way I coach it in my exam room, plus the disinfecting mistakes I most want cat owners to stop making.
The Three Levels of Litter Box Cleaning
Most “how do I clean the litter box” confusion comes from lumping three separate tasks into one vague chore. Keep them straight and the routine becomes automatic:
- Daily — scoop. Remove all clumps of urine and every stool at least once a day, ideally twice. This is the single most important habit for both odor and health.
- Weekly to biweekly — refresh the litter. Depending on the litter type and number of cats, periodically dump the used litter, wash the box, and refill with fresh litter.
- Monthly — deep clean. Empty the box completely, scrub it with hot water and a cat-safe cleaner, dry it fully, and refill. This is when you also inspect the box for scratches and cracks.
Everything below is just the detail on how to do each level well.
Daily: The Scoop
Scooping is non-negotiable and it is the task people most often let slide. In an ideal world you scoop twice a day — morning and evening — but once a day is the true minimum. The reasons are equal parts behavioral and medical.
Behaviorally, cats avoid soiled boxes. A cat forced to choose between a dirty box and your bath mat will often choose the bath mat, and once a cat establishes an off-box spot, breaking the habit is far harder than simply keeping the box clean would have been. Medically, the daily scoop is your monitoring window. When you remove waste every day, you notice change: a urine clump that has suddenly doubled in size (a hallmark of diabetes, kidney disease, or hyperthyroidism), tiny clumps or frequent straining (possible cystitis or a urinary blockage), diarrhea, constipation, or blood. These are exactly the clues I ask owners about, and daily scoopers are the ones who catch them early.
A few technique points that make scooping cleaner and more informative:
- Use a sturdy metal or heavy-duty plastic scoop with slots sized for your litter — fine slots for lightweight clumping litter, wider ones for pellets. Scoop against the corners and bottom; that is where clumps hide and cement themselves.
- Get every clump and every stool, every time. A single missed urine clump left to dissolve is the number-one source of ammonia smell.
- Top off the litter after scooping to maintain a consistent depth (about 2 to 3 inches for most clumping litters). Cats dig, and a box that gets too shallow stops absorbing properly.
- Watch what you scoop. You are the only person who sees your cat’s output daily. Note anything that looks off and mention it at the next visit — or sooner if a cat is straining, crying, or producing little to no urine.
Weekly: Changing the Litter
How often you do a full litter change depends heavily on what litter you use and how many cats share the box.
Clumping litter is the most forgiving because you remove the soiled portion daily. With diligent daily scooping and one cat, a full change every two to three weeks is usually enough — you top off between changes. In a multi-cat home, or if you scoop less often, move to weekly. The tell is your nose and your eyes: if a freshly scooped box still smells, or the remaining litter looks dingy and clumps poorly, it is time for a full change regardless of the calendar.
Non-clumping litter (traditional clay, some crystal and plant litters) cannot be spot-cleaned as thoroughly because urine spreads through it. Change it completely about twice a week for one cat, more often for several. Crystal (silica gel) litters are an exception — they absorb urine and let it evaporate, so a well-managed silica box with one cat can go a week or more before a full change, as long as you remove stool daily and stir the crystals.
The full schedule, broken down by every litter material and by how many cats share the box, is in my companion guide to how often to change cat litter.
If you find yourself changing litter constantly to stay ahead of odor, the litter itself may be the weak link. Material matters enormously for odor control and dust, and the right choice can cut both your workload and your cat’s respiratory irritation. I break down which litters actually control odor at each life stage — including low-dust and unscented options — in my guide to the best cat litters.
To do a full litter change:
- Dump the entire contents into a trash bag (never down a toilet or drain — clay litter will clog pipes, and even “flushable” litters are discouraged in most municipalities and unsafe where toxoplasmosis is a concern).
- Wash the empty box (see the deep-clean steps below) or, at minimum, wipe it out and let it dry.
- Refill with 2 to 3 inches of fresh litter.
How to Deep Clean a Litter Box, Step by Step
At least once a month — more often for plastic boxes that have absorbed odor, or any time the box has been fouled by diarrhea or a sick cat — give the box itself a full wash. Plastic is porous and slowly soaks up urine odor over time; a monthly scrub keeps that at bay and lets you inspect for damage.
- Empty it completely. Dump all litter into a trash bag and tie it off.
- Rinse with hot water. Take the box outside or to a utility sink (not the kitchen sink where food is prepared). Hot water and physical scrubbing do most of the work.
- Scrub with a cat-safe cleaner. Use plain dish soap and hot water, or a diluted enzymatic cleaner. Scrub every surface, including the rim and any corners where waste collects. Avoid strongly scented cleaners — the residue can put a sensitive cat off the box.
- Disinfect if needed. For routine cleaning, soap and hot water are enough. If a cat has been ill or the box needs true disinfection, the safest agent is a dilute, unscented bleach solution used correctly — see the warnings in the next section — thoroughly rinsed and dried before litter goes back in.
- Rinse completely. Any cleaner residue left behind is both a smell your cat will notice and a potential irritant. Rinse until the water runs clear and you cannot smell the cleaner.
- Dry it fully. This step is skipped constantly and it matters: fresh litter poured into a damp box clumps against the plastic, sticks, and starts to smell almost immediately. Towel-dry and air-dry until bone dry.
- Inspect the box. Run your hand over the bottom. Deep scratches and gouges are permanent odor traps that no amount of scrubbing will fix — bacteria and urine lodge in them. A box that stays smelly right after a deep clean has usually reached the end of its life. Most boxes should be replaced every year or so; if yours is scratched, cracked, or stained, it is time. My picks for boxes that are easy to clean and resist odor are in the best cat litter boxes roundup.
- Refill and reposition. Add fresh litter and return the box to its usual spot. Keeping the location consistent matters — cats are creatures of habit about where they go.
What to Clean With — and the Two Things to Never Use
This is the section I most wish every cat owner would read, because two common household cleaners are genuinely dangerous around litter boxes.
Never use ammonia-based cleaners. Cat urine already contains ammonia, so an ammonia cleaner does not remove the smell — to your cat it can actually mimic the scent of urine and invite re-marking of that spot. Worse, it does nothing to break down the odor at its source.
Never mix bleach with ammonia or with urine residue. Bleach and ammonia combine to form chloramine gas, which is toxic to both you and your cat and can cause serious respiratory injury in an enclosed space like a bathroom or laundry room. Because litter boxes are full of ammonia-rich urine, this is a real hazard, not a theoretical one. If you use bleach, the box must be emptied and rinsed of urine first.
What to use instead:
- Everyday cleaning: plain dish soap and hot water. Simple, safe, and effective for routine washes.
- Odor at the source: an enzymatic cleaner, which breaks down the uric-acid crystals that ordinary soap leaves behind. This is also the only thing that reliably removes odor from off-box accidents so your cat is not drawn back to re-offend.
- True disinfection (after illness): a dilute bleach solution — about a half cup of unscented household bleach per gallon of water — applied to an already-emptied, urine-free, rinsed box, left briefly, then rinsed thoroughly and dried completely before refilling. Never leave any bleach residue.
- Avoid: pine-oil and phenol-based cleaners (Pine-Sol and similar), which are toxic to cats; and any heavily perfumed cleaner, which a sensitive cat may find aversive enough to abandon the box.
Cleaning Covered, Top-Entry, and Self-Cleaning Boxes
Different box designs change the cleaning routine.
Covered and hooded boxes trap odor and ammonia inside — pleasant for you, less so for your cat, whose nose is inside that concentrated cloud every visit. If you use a hood, scoop even more diligently and deep clean the lid as well as the base; ammonia condenses on the underside of the cover. If your cat starts avoiding a covered box, try removing the hood before assuming the cat is the problem.
Top-entry boxes contain litter scatter well but need the lid wiped down and the entry hole cleaned, since paws track waste there.
Automatic and self-cleaning litter boxes rake or rotate waste into a sealed compartment after each use, which keeps the litter bed clean between your hands-on cleanings — but they are not maintenance-free. You still empty the waste drawer regularly, and every few weeks you must disassemble the unit and wash the rake, base, and any sensors according to the manufacturer’s directions, because urine builds up on the mechanism. A neglected automatic box smells worse than a neglected manual one because the waste is concentrated in one sealed spot. If a self-cleaning setup fits your household, my tested recommendations — and cleaning notes for each — are in the best automatic litter boxes guide. One caution I give clients: introduce any automatic box slowly, since the motor noise and motion frighten some cats off the box entirely.
Toxoplasmosis and Pregnancy: Cleaning the Box Safely
This deserves its own section because the advice is often exaggerated in both directions. Toxoplasma gondii is a parasite cats can shed in their feces, and it poses a real risk to a developing fetus and to immunocompromised people. But you do not have to rehome your cat.
The parasite’s eggs (oocysts) are not infectious for the first one to five days after they are passed — they need time in the environment to become able to cause infection. That single fact is the whole basis of the safety strategy: scoop the box daily, and fresh stool is removed long before it becomes a hazard. Beyond that:
- If you are pregnant or immunocompromised, have someone else scoop the box if at all possible.
- If you must scoop it yourself, wear disposable gloves and wash your hands thoroughly afterward.
- Scoop at least once daily so nothing sits long enough to become infectious.
- Keep cats indoors and feed commercial food rather than raw meat, which lowers the chance your cat is shedding the parasite at all.
Handled this way, litter box duty during pregnancy is a manageable risk, not a reason to part with a cat.
Odor Control That Actually Works
If your home smells like a litter box despite regular cleaning, the fix is almost never a heavily scented litter or a plug-in air freshener — those mask odor while the source keeps producing it, and strong fragrance can drive a cat off the box. Real odor control is mechanical:
- Scoop more often. Twice daily beats any additive.
- Change the full litter on schedule and deep clean the box monthly so the plastic itself is not the source.
- Use enough boxes. The rule is one box per cat plus one extra, spread across the home. Crowded boxes get foul fast, and a single box in a multi-cat house is a losing battle. If you are short on boxes, my best cat litter boxes picks cover roomy, easy-to-clean options.
- Add a little baking soda to the bottom of a clean box before adding litter — it is safe and absorbs odor without fragrance.
- Ventilate the box’s location rather than sealing it in a closed closet where ammonia concentrates.
A first-time owner still setting up their kitten’s routine will get the most out of pairing this with my step-by-step kitten litter training guide, which covers box size, litter safety, and placement from day one.
When a Cleaning Problem Is Really a Medical Problem
Here is the clinical mindset I want every owner to carry to the litter box. Cleaning is not just hygiene — it is surveillance. The box is where a cat’s urinary and digestive health is on display every single day, and a sudden change in what you are cleaning up is often the first sign of disease, long before a cat looks sick.
Call your veterinarian — the same day for the first item — if you notice:
- Straining in the box with little or no urine, repeated unproductive trips, or crying while trying to go. In cats, especially males, this can mean a urinary blockage, which is a true emergency: a fully blocked cat can become critically ill within a day.
- Urine clumps that have suddenly grown much larger or more frequent, or a cat drinking noticeably more — possible diabetes, kidney disease, or hyperthyroidism.
- Blood in the urine or stool, or persistent diarrhea or constipation.
- A previously reliable cat that suddenly starts eliminating outside the box. This is rarely spite; it is usually pain, a urinary tract issue, or an aversion to a box that has become unpleasant. Rule out medical causes before assuming it is behavioral.
Supporting your cat’s urinary health also means encouraging water intake, since dilute urine is protective — many cats drink more from moving water, which is why I often recommend a cat water fountain for cats with any history of urinary trouble. But hydration is a complement to veterinary care, not a substitute: when the box tells you something has changed, the box has done its job. Your next call is to your vet.
Frequently Asked Questions
How often should I clean a litter box?
Scoop out all urine clumps and stool at least once a day, ideally twice. Do a full litter change every one to three weeks for clumping litter (weekly in multi-cat homes) or about twice a week for non-clumping litter, and deep clean the box itself with soap and hot water at least once a month.
What is the best thing to clean a litter box with?
For routine cleaning, plain dish soap and hot water are safe and effective. For odor at the source or off-box accidents, use an enzymatic cleaner. Reserve dilute unscented bleach for true disinfection after illness — on an emptied, rinsed box only — and rinse and dry it completely before adding litter.
Can I use bleach to clean a litter box?
Yes, but carefully. Use only dilute, unscented bleach (about half a cup per gallon of water) on a box you have already emptied and rinsed free of urine, then rinse and dry it thoroughly. Never let bleach contact ammonia-rich urine or an ammonia cleaner — the combination releases toxic chloramine gas.
Why does my litter box still smell after I clean it?
Usually one of three reasons: you are missing urine clumps when scooping, the plastic box itself has absorbed odor and needs a monthly deep clean or replacement, or you have too few boxes for the number of cats. Deep scratches in the plastic trap odor permanently — a box that smells right after a thorough wash has reached the end of its life.
Is it safe to clean a litter box while pregnant?
It is safest to have someone else scoop it, but if you must do it yourself, wear gloves, scoop at least once daily, and wash your hands thoroughly afterward. Toxoplasma eggs are not infectious for one to five days after being passed, so daily scooping removes the risk before it develops.
Can I flush cat litter or litter box waste down the toilet?
No. Clay litter clogs plumbing, and even litters labeled “flushable” are discouraged by most municipalities and unsafe where toxoplasmosis is a concern, since the parasite can survive water treatment. Bag litter box waste and put it in the household trash.
How do I clean a self-cleaning or automatic litter box?
Empty the sealed waste drawer regularly, and every few weeks fully disassemble the unit to wash the rake, base, and sensors per the manufacturer’s instructions — urine builds up on the mechanism. Do not use bleach on electronic components. A neglected automatic box smells worse than a manual one because waste concentrates in one sealed spot.
Should I use scented litter or air fresheners to control odor?
No. Cats have a far more sensitive sense of smell than we do, and heavy fragrance can be aversive enough to make a cat avoid the box. Control odor mechanically instead — scoop more often, change litter on schedule, deep clean monthly, use enough boxes, and add a little plain baking soda under fresh litter.
When should a dirty litter box make me call the vet?
Whenever what you are cleaning up changes suddenly: straining with little or no urine (an emergency — call the same day), urine clumps that are suddenly much larger, blood in urine or stool, persistent diarrhea or constipation, or a previously reliable cat that starts going outside the box. These changes often appear in the box before a cat looks sick.
Related Articles
About the Reviewer

Dr. Priya Anand, DVM, ABVP (Feline)
DVM, Cornell University College of Veterinary Medicine
Dr. Priya Anand is a veterinarian board-certified by the ABVP in Feline Practice, with over a decade caring for cats in a feline-exclusive clinic. She has guided thousands of cat owners through nutrition, litter-box troubleshooting, enrichment, and senior-cat care. She founded House of Mittens in 2026 to cut through pet-aisle marketing and recommend the food, litter, and gear that actually keep cats healthy and happy — judged the way she'd advise her own patients.